Example OIDC Setup: Keycloak
OIDC client for the backend
The back-end needs to be configured as an OIDC client so that developers can authenticate against it to receive service accounts for App Clusters to connect to the data services.
Create a new client for the backend. In our example we call the client kube-bind-backend.

Enable Client authentication and Authorization, so that Keycloak users can authenticate against the backend. Select all the flows you want to enable. For the web based setup Standard Flow is required.

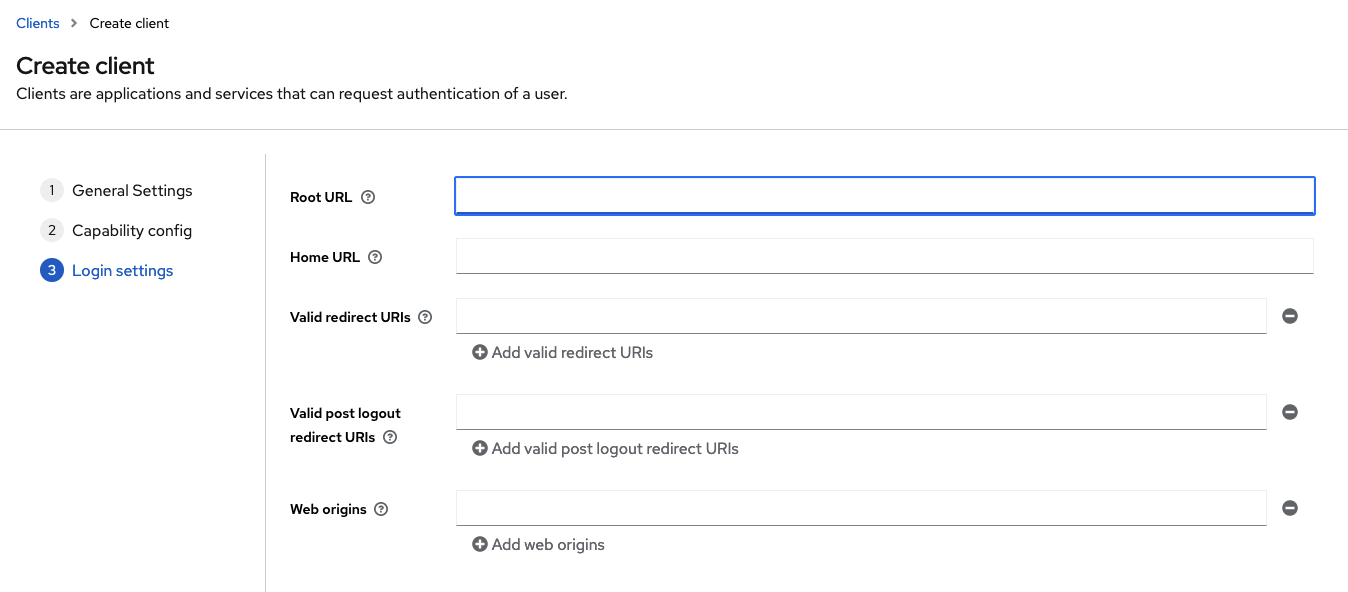
Set up Root and Home URLs as required. For Valid redirect URLs please add
<BACKEND_URL>/callback. Replacing <BACKEND_URL> with the base URL of the backend.
OIDC setting for Users
Currently no special setup is required for users. All users in keycloak can create a binding.
OIDC client for helper CLI
To create bindings non-interactively you need to create an account for the helper CLI.
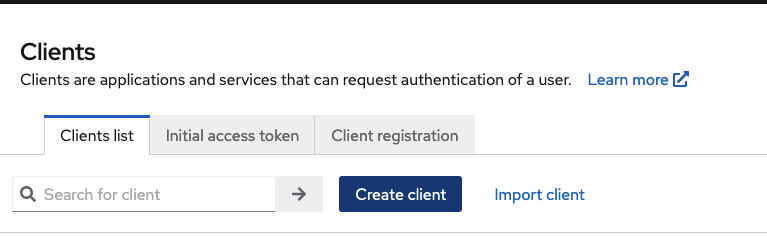
Click on Create client
Create a new client. You can give it a name of your choice. In this example we will pick
"cli-client" This name will be the value of the OIDC_CLIENT_ID environment variable for the helper
CLI.

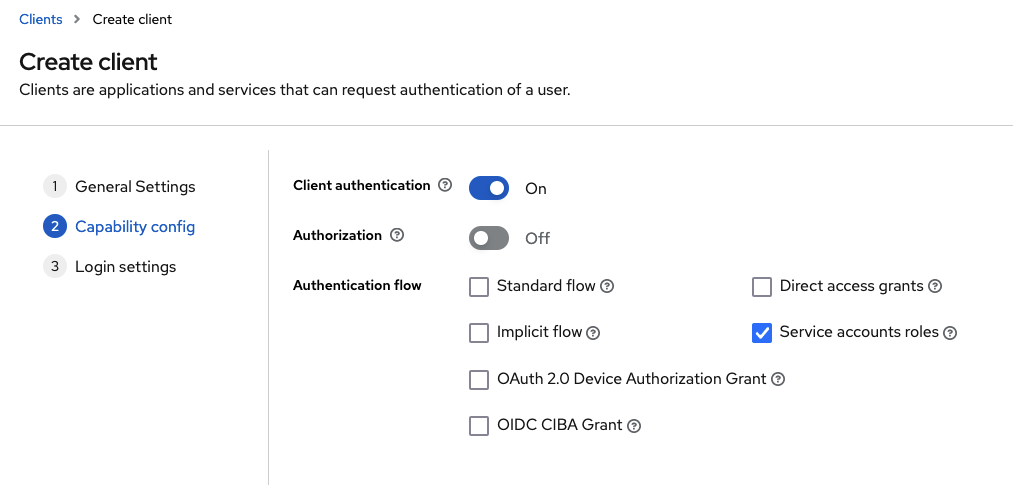
Enable Client authentication and the Service accounts roles Authentication flow. This will enable the helper CLI to generate tokens for authenticating to the backend.
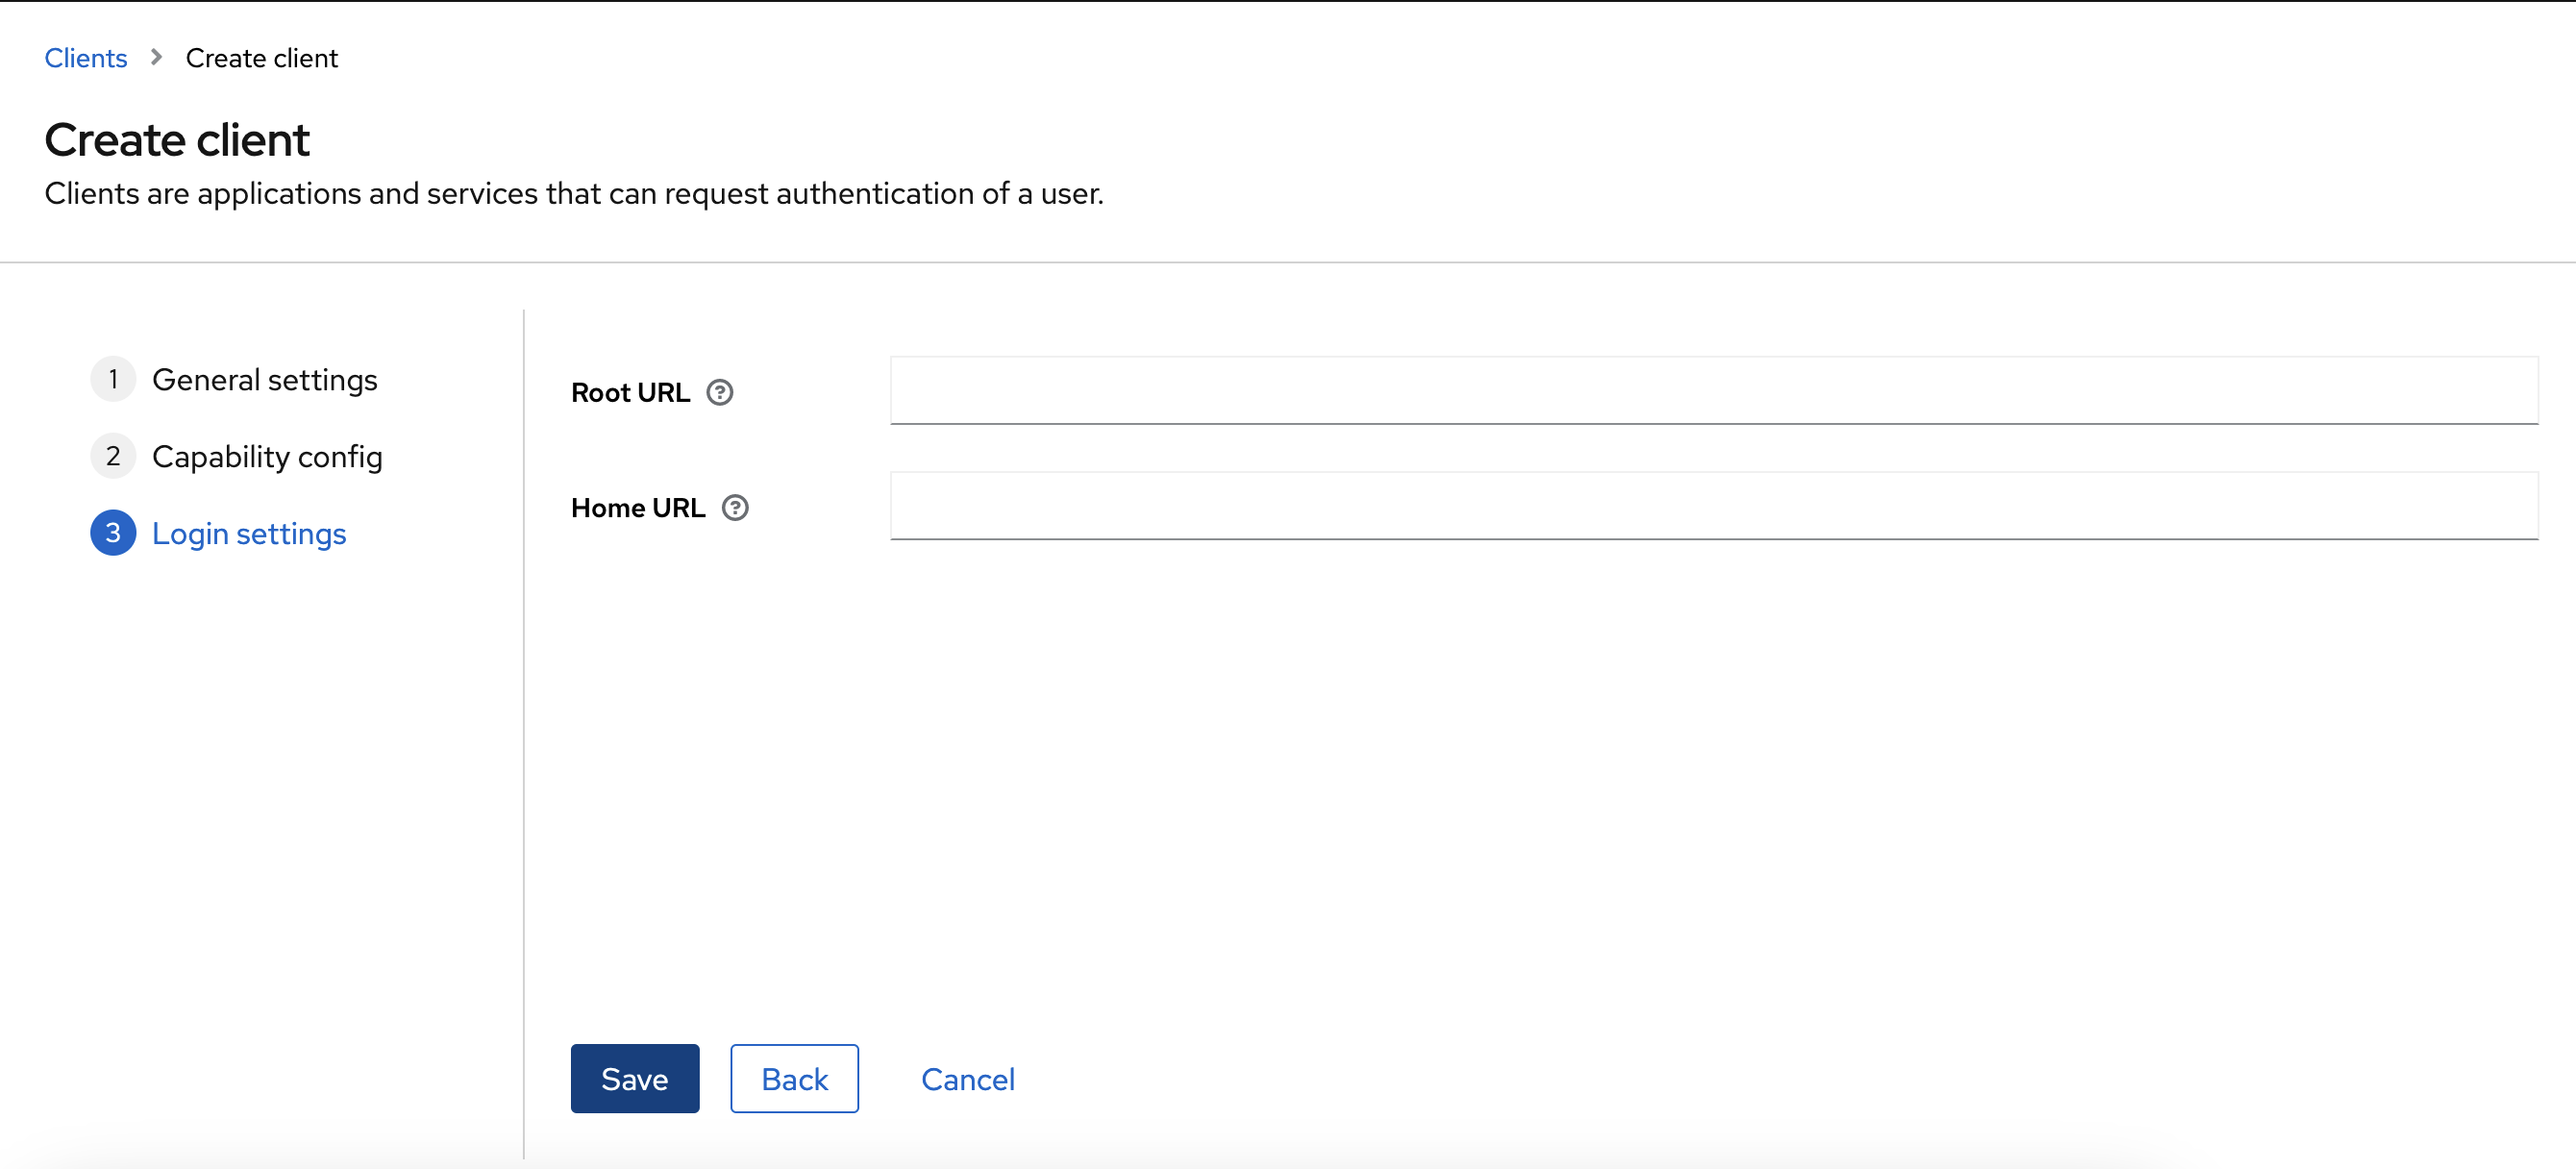
Fill out the Login settings if needed, in this example we leave the fields empty.
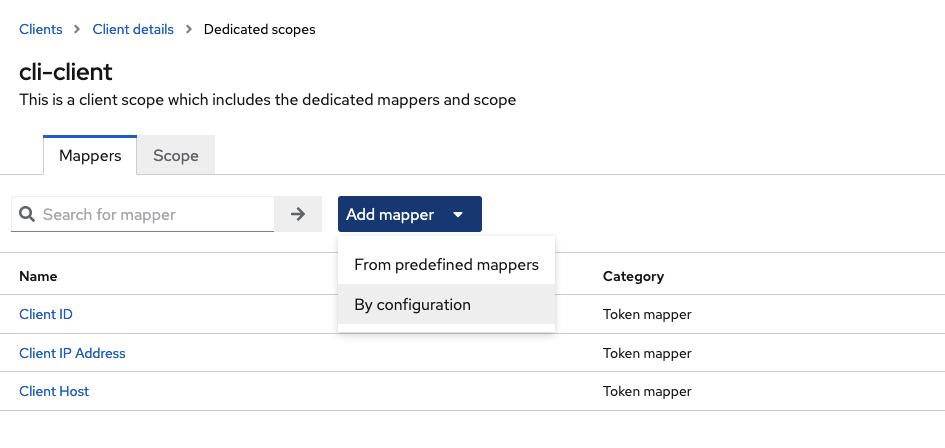
Click on the dedicated client scope for the newly created client.

Click on Add mapper > By configuration.
Configure a new mapper and select type Audience.

Map the Audience of the client you created for the backend, and enable Add to ID token and Add to access token.
