Setting Up an App Cluster
Connecting an App Cluster to the Klutch Control Plane establishes the secure link required for developers to provision and manage data services. This process, called API binding, makes the Klutch APIs available to the App Cluster so developers can request and consume data services. It also installs the local synchronization agent and authenticates the App Cluster with the Control Plane's OIDC service to establish the required secure communication between the two clusters.
Prerequisites
Before proceeding with the binding process, ensure the following requirements are met:
- Control Plane Setup: A fully operational Control Plane Cluster with at least one connected Automation Backend.
- Kubernetes Cluster: A running Kubernetes cluster designated for consuming data services.
- Network Connectivity: The App Cluster must be able to reach the Control Plane Cluster.
- Authentication: Valid OIDC credentials corresponding to your binding workflow:
- Interactive Binding: No local OIDC credentials required. Authentication is handled by the klutch-bind backend via your browser.
- Non-Interactive Binding (CI/CD): Requires a dedicated Client ID and Client Secret for a Machine-to-Machine (M2M) OIDC client.
- ⚠️ Warning: Do not reuse the Client ID created for the klutch-bind backend; browser-only clients are incompatible with automation flows.
- Example: For a walkthrough using Keycloak, see the Keycloak CLI Client Guide.
- Tools:
- kubectl (v1.14+)
An App Cluster stores sensitive information (such as Service Binding credentials) in Kubernetes Secrets.
Enable Encryption at Rest on this cluster to ensure data security.
Binding the App Cluster
Select the binding workflow that best fits your environment: Interactive (browser-assisted) or Non-Interactive (automation-friendly).
- Interactive Binding (Web UI)
- Non-Interactive Binding (CI/CD)
1. Install kubectl-bind CLI
The kubectl-bind plugin is required for the interactive, web-based cluster binding process.
A. Download Binary (v1.5.0)
- MacOS
- Linux
- Windows
B. Installation Steps (Mac/Linux)
Follow these steps for Mac or Linux to install the downloaded binary. For Windows, follow the procedure for adding the binary's directory to the System PATH.
# I. Create installation directory
mkdir -p <installation-directory>/bin

# II. Copy the downloaded binary from section A and rename to kubectl-bind
cp ./<DOWNLOADED-BINARY-NAME> <installation-directory>/bin/kubectl-bind

# III. Make executable
chmod +x <installation-directory>/bin/kubectl-bind

# IV. Add to PATH (add this line to your shell profile, e.g., .bashrc or .zshrc)
export PATH=$PATH:<installation-directory>/bin
Verification:
The following command should output usage information:
kubectl bind --help
2. Execute Interactive Binding
A. Execute Binding Command
Execute the command below, replacing <backend-host> with the public hostname of the Klutch Control Plane.
kubectl bind https://<backend-host>:443/export --konnector-image=public.ecr.aws/w5n9a2g2/anynines/konnector:v1.5.0
B. Authenticate and Complete Binding
This command will trigger the following interactive steps:
- A web browser window will open, prompting authentication via your OIDC provider.
- After successfully logging in and granting access, confirm in the terminal (respond
Yes). - The konnector deployment is automatically installed on the App Cluster.
- The Klutch web UI will open, allowing the selection of service APIs to bind.
Once authentication is complete, the available services can be selected using the Klutch web UI:
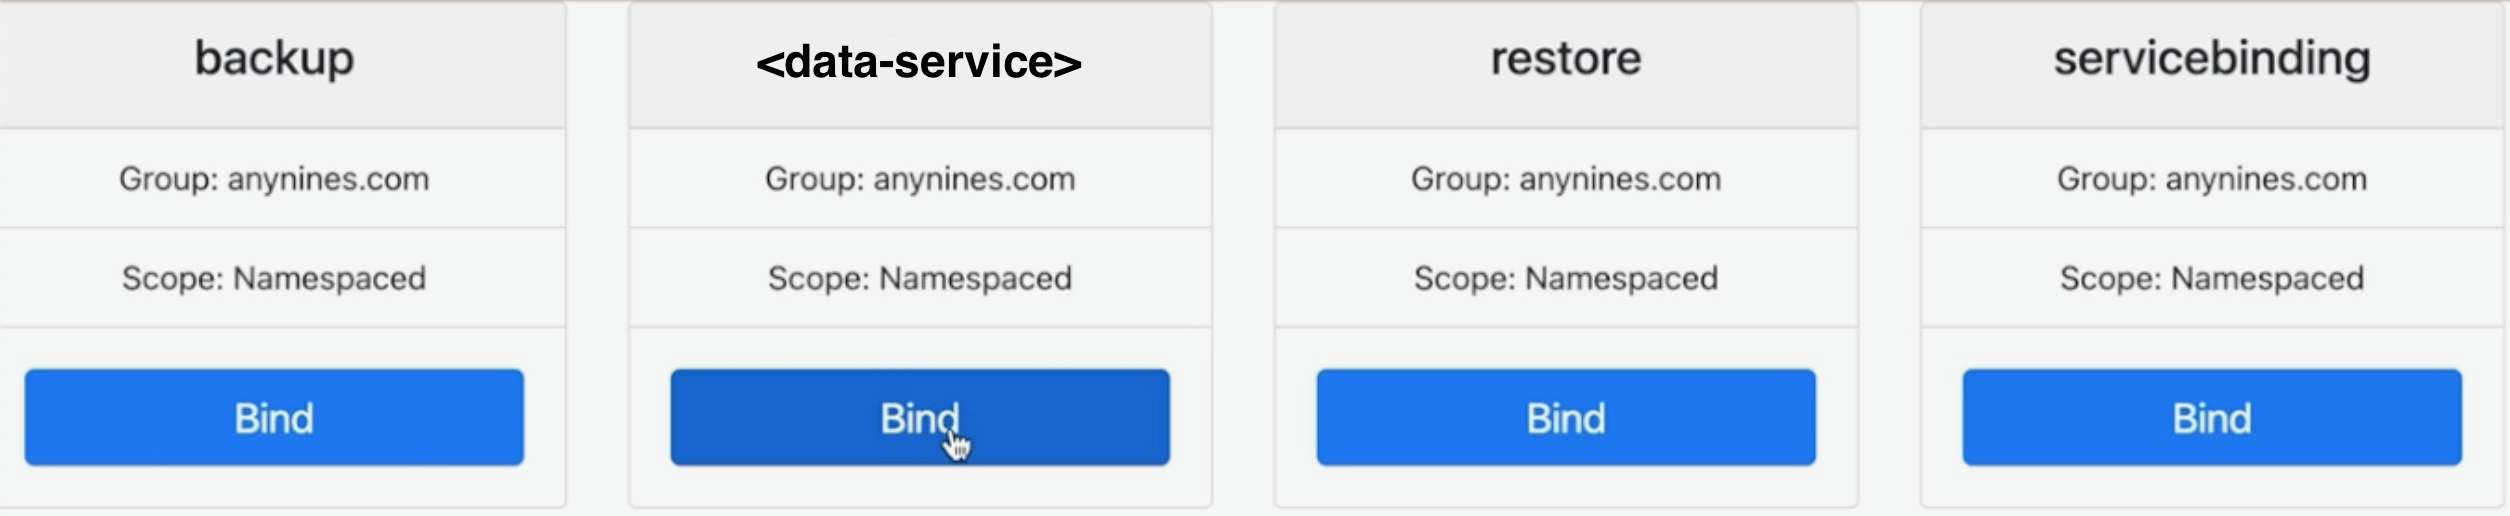
The API binding process must be completed one service at a time. If binding multiple services (e.g., PostgreSQL, S3),
the kubectl bind command and OIDC login must be repeated for each service.
1. Install Helper Utility
The helper utility is required for generating non-interactive manifest files, ideal for automated pipelines.
A. Download Binary (v1.5.0)
- MacOS
- Linux
- Windows
B. Installation Steps (Mac/Linux)
Follow these steps to install the helper binary and make it available in your shell’s PATH:
# I. Create installation directory
mkdir -p <installation-directory>/bin

# II. Copy the downloaded binary from section A and rename to helper
cp ./<DOWNLOADED-BINARY-NAME> <installation-directory>/bin/helper

# III. Make executable
chmod +x <installation-directory>/bin/helper

# IV. Add to PATH (add this line to your shell profile, e.g., .bashrc or .zshrc)
export PATH=$PATH:<installation-directory>/bin
2. Execute Non-Interactive Binding
A. Set Environment Variables
Set the OIDC Client Credentials and Token URL in your environment. These must belong to the dedicated CLI OIDC client, not the client used for the klutch-bind backend client.
| Variable | Description |
|---|---|
OIDC_CLIENT_ID | The Client ID of the OIDC client used for automation (Client Credentials Grant). Reusing a browser-based client ID will cause authentication to fail. (Example: Keycloak CLI Client Setup). |
OIDC_CLIENT_SECRET | The client secret for the dedicated OIDC automation client. |
OIDC_TOKEN_URL | The OIDC server's token endpoint (e.g., https://example.com/auth/realms/example/protocol/openid-connect/token). |
B. Define Binding Configuration
Create a cluster-specific file (binding.json). Ensure the clusterID is unique and the apis list contains the exact
group and resource names for all services to be consumed.
View binding.json Template
{
  "clusterID": "cluster-<UNIQUE-ID>",
  "apis": [
    { "group": "anynines.com", "resource": "servicebindings" },
    { "group": "anynines.com", "resource": "backups" },
    { "group": "anynines.com", "resource": "restores" },
    { "group": "anynines.com", "resource": "postgresqlinstances" }
    // Add all other required service API exports here
  ]
}
C. Generate and Apply Manifest
-
Generate the Manifest: Use the
helperutility to create the binding manifest. Replace<backend-host>with the public hostname of your Klutch Control Plane.helper bootstrap-env -f ./binding.json -u https://<backend-host>:443/bind-noninteractive --konnector-image public.ecr.aws/w5n9a2g2/anynines/konnector:v1.5.0 > binding-manifest.yaml -
Apply the Manifest: Apply the generated file to the App Cluster.
kubectl apply -f binding-manifest.yamltipYou may need to run the
kubectl applycommand twice.
To create instances in the binding before the App Cluster is available, include the --write-kubeconfig=./provider.kfg.yaml
flag in the bootstrap-env command above.
The generated provider.kfg.yaml allows interaction with the binding. Create a target namespace using:
helper create-ns --kubeconfig ./provider.kfg.yaml -n <your-namespace-name>
Use the namespace name output to stdout by the helper for interaction.
This allows using standard kubectl commands (e.g., kubectl --kubeconfig=./provider.kfg.yaml apply -f my-instance.yaml)
to pre-provision resources.
When provisioning App Clusters from automated CI flows, it may be desirable to avoid the kubectl-bind and helper CLI
dependencies. For these scenarios, the Konnector component can be deployed using a plain Kubernetes manifest. Note
that this step only installs the Konnector and does not complete the binding. See the dedicated guide for manifest and
binding details:
Manual Konnector Deployment
Next Steps
With the App Cluster successfully bound, developers can immediately start provisioning configured data services using their usual Kubernetes workflow (creating a service claim Custom Resource).